Back at it - plumbing part 1 and beyond
Part 1-ish.
A typical site throughout the build process - trucks and outside muck.
Hey y’all - been a while, eh? Writing this intro as it’s the holiday break at the end of 2024 - this post may not go out until early 2025 - and the last time this blog was updated was March 7th, 2024. Who could have thought that moving into a mostly-finished house in the middle of March, immediately shooting a cookbook for a few weeks, and then diving into our usual busy Summer season, along with picking away at the small details of said mentioned mostly-finished house (trim, caulking, paint, storage solutions, exterior stuff, building a wood shed, etc) would take priority over updating these words about, again, said mostly-finished house? We live and we learn, and as I get older I feel like I’m learning more than I ever have.
If you follow along on my social channels, you’re probably well aware that we’ve been living, enjoying, partying, celebrating and gathering in this house for the better part of the year. But aside from some random kitchen shots and lots of photos of Signal, you probably haven’t seen much. And I definitely haven’t talked about much. So 2025 we’re starting off on the right foot and getting things updated and giving y’all the info I’ve been giving up in person for months now. So - where we left off.
Windows and doors had just gone in - major milestone as now we were basically weather tight. Siding and roofing isn’t done but exterior foam board and a waterproof membrane was on the roof earlier on so things are (mostly) sealed up. This is important at this stage - as you’re starting to look at your plumbing routing, electrical wiring and insulation, it’s preferable if that stuff doesn’t get wet or exposed to the elements too much. Understandable. But being able to stand in the shell of the house without feeling the wind hitting you is pretty nice.
That leads us to a couple of the next points - electrical and plumbing. We’ll start with plumbing first and to set expectations early - there’s not a ton I’ll chat about on this one as mentioned before - with a slab, a good chunk of your routing is done before the walls even go up so your choices are limited at this point. Good and bad. Good if you were organized and aware beforehand. Bad if you didn’t think ahead and now have to make sacrifices on your routing. Luckily, with some advice from said plumber and other tradey pals, we could plan ahead thoroughly.
From a previous post but worthy of a second shot - the view from our ensuite (the lines right in front of the frame are for the tub) showing all the plumbing work that happened before the concrete slab was poured and finished. At this point it was worth triple checking everything before it was all locked in cement.
looking into the main room from our ensuite - here you can see rough-in lines for shower taps, shower drain, main kitchen drain (left hand side) as well as water lines coming in for where our sink will be. Also Jenessa supervising.
Our design keeps things simple all around - with a two bedroom, two bathroom with a utility room setup, that leaves us with one kitchen sink, two toilets, two showers, 1 bathtub, two bathroom sinks, and our lines for our washer/dryer in the utility room. The routing for the well/main septic line have been done since the slab was poured.
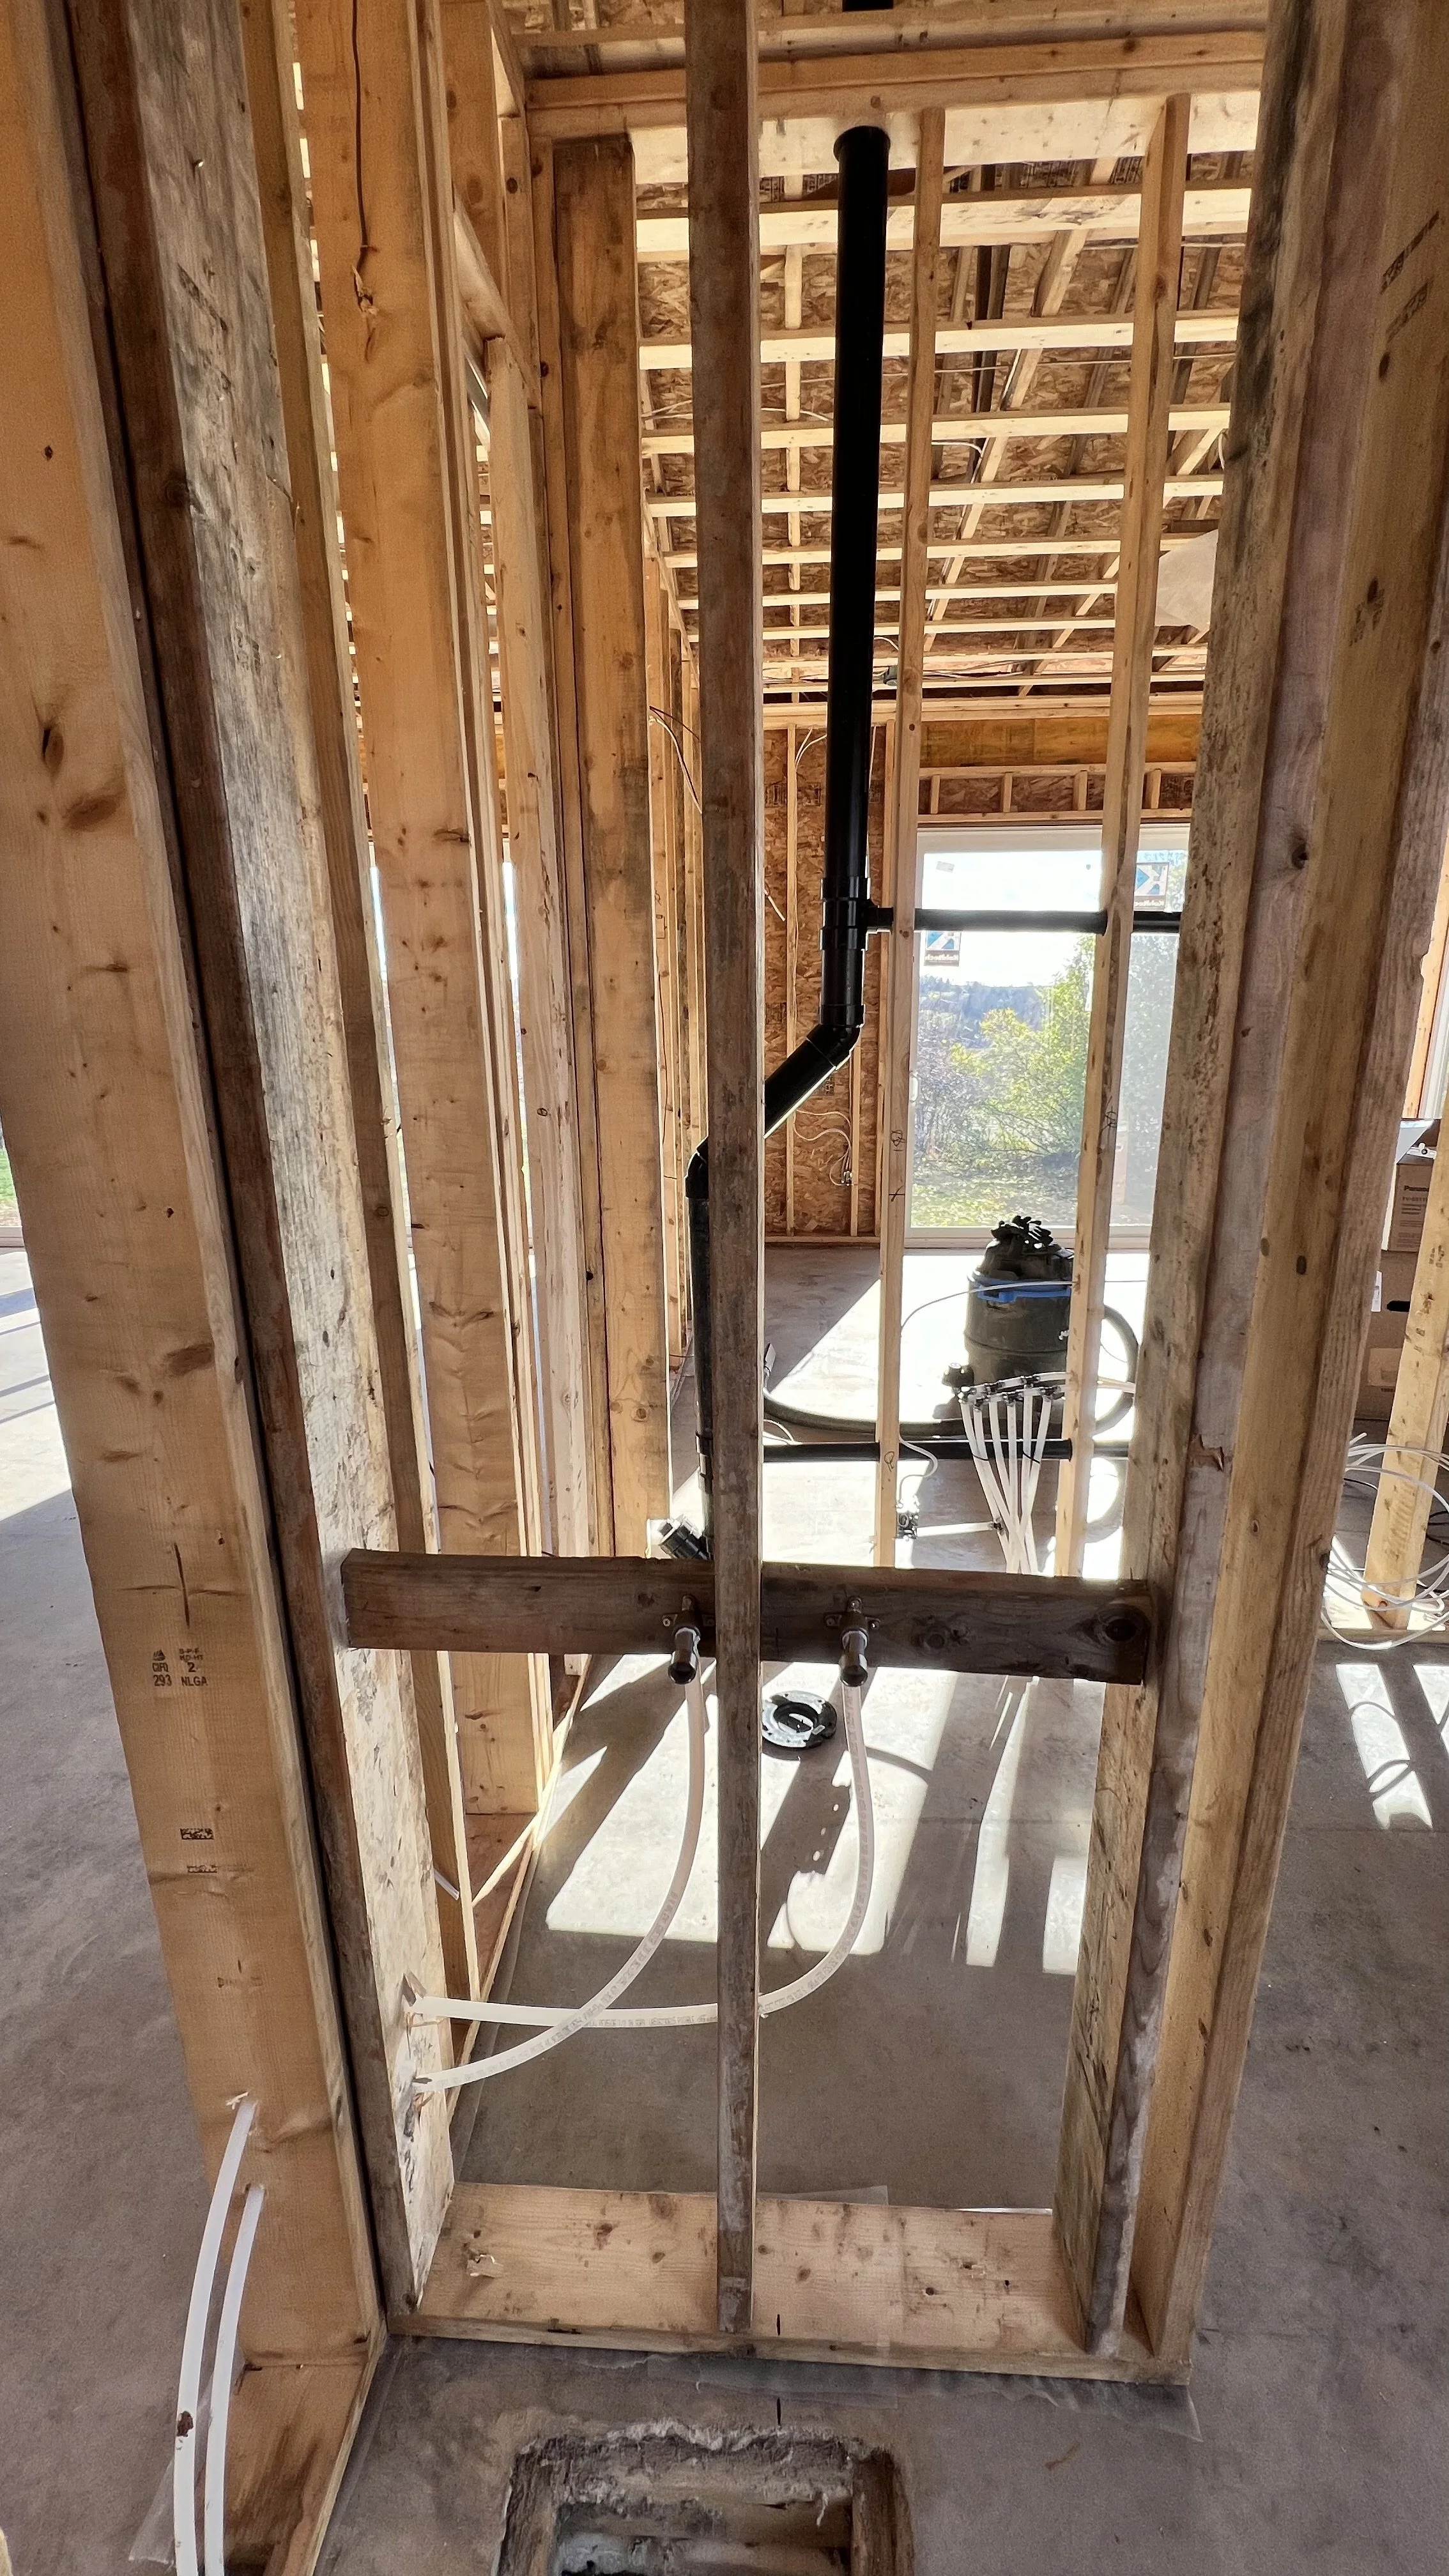
Similar view to the image above but slightly to the right and a bit more finished - can see our toilet drain and water line, septic vent stack and lines for our bathroom sink. We ended up going with a wall-mount faucet for our bathroom - last minute but (and this will be more in depth later) we were working with a vintage dresser turned into our vanity and it ended up being way easier to mount them in the wall (combined with our countertop and sink choices) than it would have been to mount them on the countertop itself. Super happy with that choice.
Wall mounted faucet.
A separate look at our shower wall and plumbing rough-ins - toilet behind it and vent stack (that will be hidden in the walls once drywall is happening.
One of the more fun processes behind it - unpacking all the new stuff
Once those lines were roughed in, the fun part of testing out fitment of our faucets and such. We did the same exposed shower units in both bathrooms - they looked too good not to use them in both.
They’ll fit! Sick!
One thing that’s important to note too is that trades can’t read your mind and if you’re not using a full-out contractor for the job, you’re gonna need to lay things out exactly how you want them sometimes (all the time). Can be time consuming but time is an easy one - if you make a decision now that you want to change later, it’s time and money and frustration. This rough-in worked so we’re off to the next decision.
A look at what’s next.
That’s all for this one folks - we have the next few chalked up already so don’t expect the same 8 month delay this time (sorry again!). Next time we’ll dive into electrical rough-ins and a few other random bits while we’re at it. Again, thank you so much for following along, asking questions, and being patient. Much love!
Al
INTERIOR FRAMING & WINDOWS/DOORS
Couple big moves.
Hey y’all - how we makin’ out? Gotta step in and say before anything - sometimes life gets busy and all your plans for things can sometimes get pushed or delayed - whether that’s some as extravagant as a house build or as miniscule as an instagram post. In this case the house is mostly on track but mostly because we’ve been spending every available hour there that we can (and collecting content and writing words along the way). Which means we’ve had some time in between but lots of updates to come over the next couple weeks. The big thing at this point is cleaning and prep so that different trades can come in and do their thing without having a mess to work around.
Anyways - thanks for sticking around. Next up on our list we’re talking interior framing and windows/doors. Arguably some of the more important and future-proofing decisions you’ll make on a build like this.
I guess now would be a good time to rehash some of our previous chats - from the designs you could see that this build is a two bedroom, two bathroom house. Unless you’re raising an army of kids, that should be more than enough space for most people.
We decided on 2x6 construction throughout the entire house to keep things solid and also because we went with pocket doors. Great space saver for houses of this size and also because they look awesome.
Once the interior framing was done, it definitely started to feel more like a house. But when the windows and doors got installed - that’s when it really felt like a house.
The one thing I can absolutely recommend about windows and doors in this day and age is to order them as soon as you can, as early as you can. Especially if you’re looking for anything custom. We specifically chose the sizing and shapes that we did because they were pretty close to standard sizings - that saved some ordering time. To give some perspective, we ordered our windows in mid-July and they finally arrived mid-November. This also depends on the supplier and the material you choose (vinyl vs aluminum) and color. White windows are cheaper and quicker, black are more expensive and take longer. Of course.
We decided on black exterior and white interior. Until we really settle into the place, we’re going to be keeeping most of the walls white inside so that made sense. Pops of color from our furniture and appliances and fixtures will help.
The windows went in on a cold late-Fall day with a fresh layer of snow - then the snow went away and it was +10 degrees mostly til Christmas.
Here’s a bit of a rundown on sizing. Because our walls are 10’ high, we wanted to go with windows and doors that keep that same idea - make the place feel bigger than it is. Our sliding patio doors are all 8’x8’, our entry doors are 36” x 8’, the tall slim windows in each bedroom are 12”x8’-ish, our kitchen window is Xxxxx and the big windows in our main bathroom are 8’x6’ each. We also have a small window in our second bathroom that actually opens up - every other window is fixed. That saved some money and we also thought we didn’t need them all to be able to open because each room has at least one 8’x8’’ window that opens already.
Building on PEI during the Fall/Winter - muck.
A lot of people have assumed but yes, a photographer designed those. I wanted all the light in there and this definitely did it.
The patio doors and entry doors are super heavy and feel very solid. We went with Kohltech windows and doors - if anyone wants to see our order sheet, more than happy to share.
Jenessa for scale.
Another thing to mention that went up before the windows/doors did was our exterior foam board. We went with this at the time because (at the time) we thought we were going with regular batt insulation and wanted to add another layer of insulation between the steel siding. We then decided to go with spray foam insulation so we’ve definitely over-insulated but that’s better than the alternative.
Once the windows were installed, the house was more or less weather tight. Once that happened, everything else inside could happen.
On to the next!
Al
SLAB
A big ol’ battery bank of heat.
Back at it in the new year and back to talk slab stuff. I alluded to it in the last post but there was something that needed to be done before we could talk slab - and that something is in-floor heating.
We were already kinda set on it anyways, but during our planning process, basically everyone was like “so you’re putting in in-floor heat right?”.
And here’s the thing - if you’re ever building on a slab or anywhere that underneath access is going to be an issue after the fact - just run the tubing. It’s way easier to just add a boiler later on than it is to try to run tubing after a concrete slab or subfloor is there. If you don’t end up using it then whatever - a little bit of extra cost and you’re future proofed. But down the road you’re thinking your toes are a little too chilly - add the boiler and you’re laughing.
So anyways - yes, we added in-floor heat across the entire length of the house. We had it set up in 3 different zones - one for the main bedroom/ensuite - one for the main living area/kitchen, and one for the guest bathroom/bedroom. Seemed to make the most sense at the time and said time will tell.
I mentioned tubing so yes, that means we went with the water route as opposed to the electric route. We’ll be using a propane boiler to heat this but there is also the option to use an electric water heater - similar to what you use for regular hot water. There’s also combination systems that can do both. Anyways that’ll come at another time.
So once we got that run through the house and ending in the utility room, it was time to pour us some concrete.
I was lucky enough to be around when this part was happening - it was a beautiful morning out there as I was doing some clean up around the property and was very cool to see the concrete pros at work.
2 and 1/4 concrete trucks later and the concrete was in. We used fibre mesh concrete for the slab and since we’re using the raw concrete as our actual flooring throughout the house, we had it finished smooth.
Sealing came next - our concrete peeps recommended doing one coat of sealer right after it was dried to protect against all the mud and debris that’ll be dragged in there over the next while. Then when our drywall is done we’ll do another coat. That’s a while from this point though.
Thanks for following along! Next up we’re gonna chat interior walls/doors and exterior windows and doors - probably the most expensive line item on the build itself. Fun stuff. See ya soon.
Al
FRAMING
Squared up.
Hey yall - hope ya made it through December nice and easy.
I had big plans to get a bunch of writing done throughout December - and then a bunch of last minute projects came along and I was on the road for a couple weeks and then the holidays and all that - anyways here we are at the end of 2023 and I’ve mostly caught up on my writing which’ll get rolled out over the next few weeks.
For now - we left off at the foundation. Exciting times. Maybe not for some people but for me - definitely.
One thing I didn’t get a chance to document that well because I was on the road for work was the plumbing/electrical trades and the work they did before the backfill on the foundation - because everything will be sitting in a big concrete block, the water/sewer lines and some key electrical are placed before the backfill happens and before the final concrete slab is poured. This is kinda nice because a good chunk of that work is done by the time the rest of those rough-ins need to happen.
So that happened. One pic above but you can see the backfill happening with some pipes and conduit sticking out of the ground. Those will feed into the house system later on. Props to DOYLE ELECTRIC for sending that one through while I was away.
Once the backfill was done, a layer of gravel went down on top of the dirt that filled in the foundation walls. Protective boxes were placed around all of the important piping and all that. Once that was done, we were on to the framing.
As I mentioned, we went with a slab on grade foundation - because of scheduling and busy-ness and all that, our framer had actually built all of the exterior walls offsite in preparation for the foundation walls to be done and for when the trusses would arrive.
Exterior walls waiting to go up
This made for a real quick standing of the framing of the house - basically in less than a day. We went with 2”x6” lumber for the framing for a lot of reasons - 33%-ish stronger which is nice since we went with the 10’ walls, more room for insulation, easier to work with pocket doors/plumbing/ventilation/etc and for all those benefits, the cost difference isn’t that much when you consider the entire project. Probably an extra $1500-$2000 when it’s all said and done for a much more sturdy, easier to work with frame.
The trusses were ordered through our building supplier and arrived for our framer to place and handle. Also went super quickly. Was very impressed by this process (as a newbie never really seeing that happen before).
Once the trusses were up, the sheathing went up around the frame to wrap it all in. One thing I definitely felt out there was that the framing was just that - the frame. But when that thing got wrapped in plywood, that’s when it started to look and feel like a house. Like something with actual walls and a roof. Seeing that for the first time - big smiles.
As you can see in those last few pics, we still don’t have an actual slab on there. A few things need to happen before that goes in, but we’ll leave that to the next post.
Until then, I wanna thank y’all for following along, asking questions, giving advice and just generally being stoked on the process. It’s been fun, stressful, educational and experiential all wrapped into one expensive box of a home, but that’s what life should always be.
We won’t be posting again til next year (bit of a dad joke here since it’s the last day of 2023 at the time of posting this) but I hope 2023 treated y’all as best as it could and on to the next one for 2024. Here we go.
Much love,
Al
First, some history.
And there’s quite a bit.
Hey y’all - how ya makin’ out? Hope things are swell. Thanks again for following along - as promised, we’re still here and still trucking along. Realized over the last few weeks that I maybe should have looked at my schedule after I posted the intro blog to see when I could find some time to write the next one - I also had to do some family research in the meantime so I can kinda blame it on that - bear with me a bit.
Before we get rolling on this one, just wanted to take a line to say how much I appreciate everyone that sent words of encouragement, excitement, questions and comments my way. Excited that y’all are seemingly as excited as I am for this project and hope to live up to your expectations on it. With that said,
Annnnnnd before we get heavy into the new, I wanted to take some time to focus on the old - how the Douglas family came to be on this land, where it grew from and how we got to it.
First off - many thanks to my aunt Karyn for sending over some documents and clearing up a few things as well as some other family members for filling in some pieces.
This piece of land we’re building on was part of an original plot of land owned by the Douglas family going way back to the early 1800’s - my great great grandfather split it off from a larger plot.
As mentioned above, my aunt Karyn had sent over some info including this family tree - gives a good idea of how this area came to be and how it changed hands over the years. When I received this in the mail, I realized that this is the first time I’ve ever seen this laid out this way. Pretty cool to see.
The plot that we’re building on was basically created in the 1830’s when the original homestead was built. And we have some old film pics of that!
The will from my great great grandfather also gives some background on this place - and we have a copy of that from way back!
One very cool thing is that the original homestead’s island sandstone foundation is still on the property - after almost 200 years. It currently borders the almost-centre of the lot and is filled with overgrown alders - you can see a bit of it in the winter when they’re bare but in the Summer this area explodes with green. Check that out:
In those pics above is the original one room schoolhouse that was across the road. My father and aunts attended there. Another cool thing is that that building still stands and was recently renovated into our neighbors home. Lots of history on these two corner lots!
Fast forward to the early 00’s and my parents start to work on clearing the land to put down a family cottage. It had been left to grow over for years - I remember some hot summer days helping them cut brush, shovel rocks, and move dirt to help get that pad in place.
The building that they moved onto the property was actually a legendary Charlottetown location - formerly housing Don Diego’s Tacos & Grandpas Cookies next to the Leon’s building on St Peter’s Road (shout out to any of yall that remember the $0.99 tacos there). After that it was a gun shop and a cobbler.
We spent lots of Summer weekends at this spot and usually ended up having Thanksgiving dinners out there - after that, we’d winterize it and bid farewell til the next spring when we could get access to it again.
After our parents passed, my brother took the property over as I had thought I was going to buy or build elsewhere on the island.
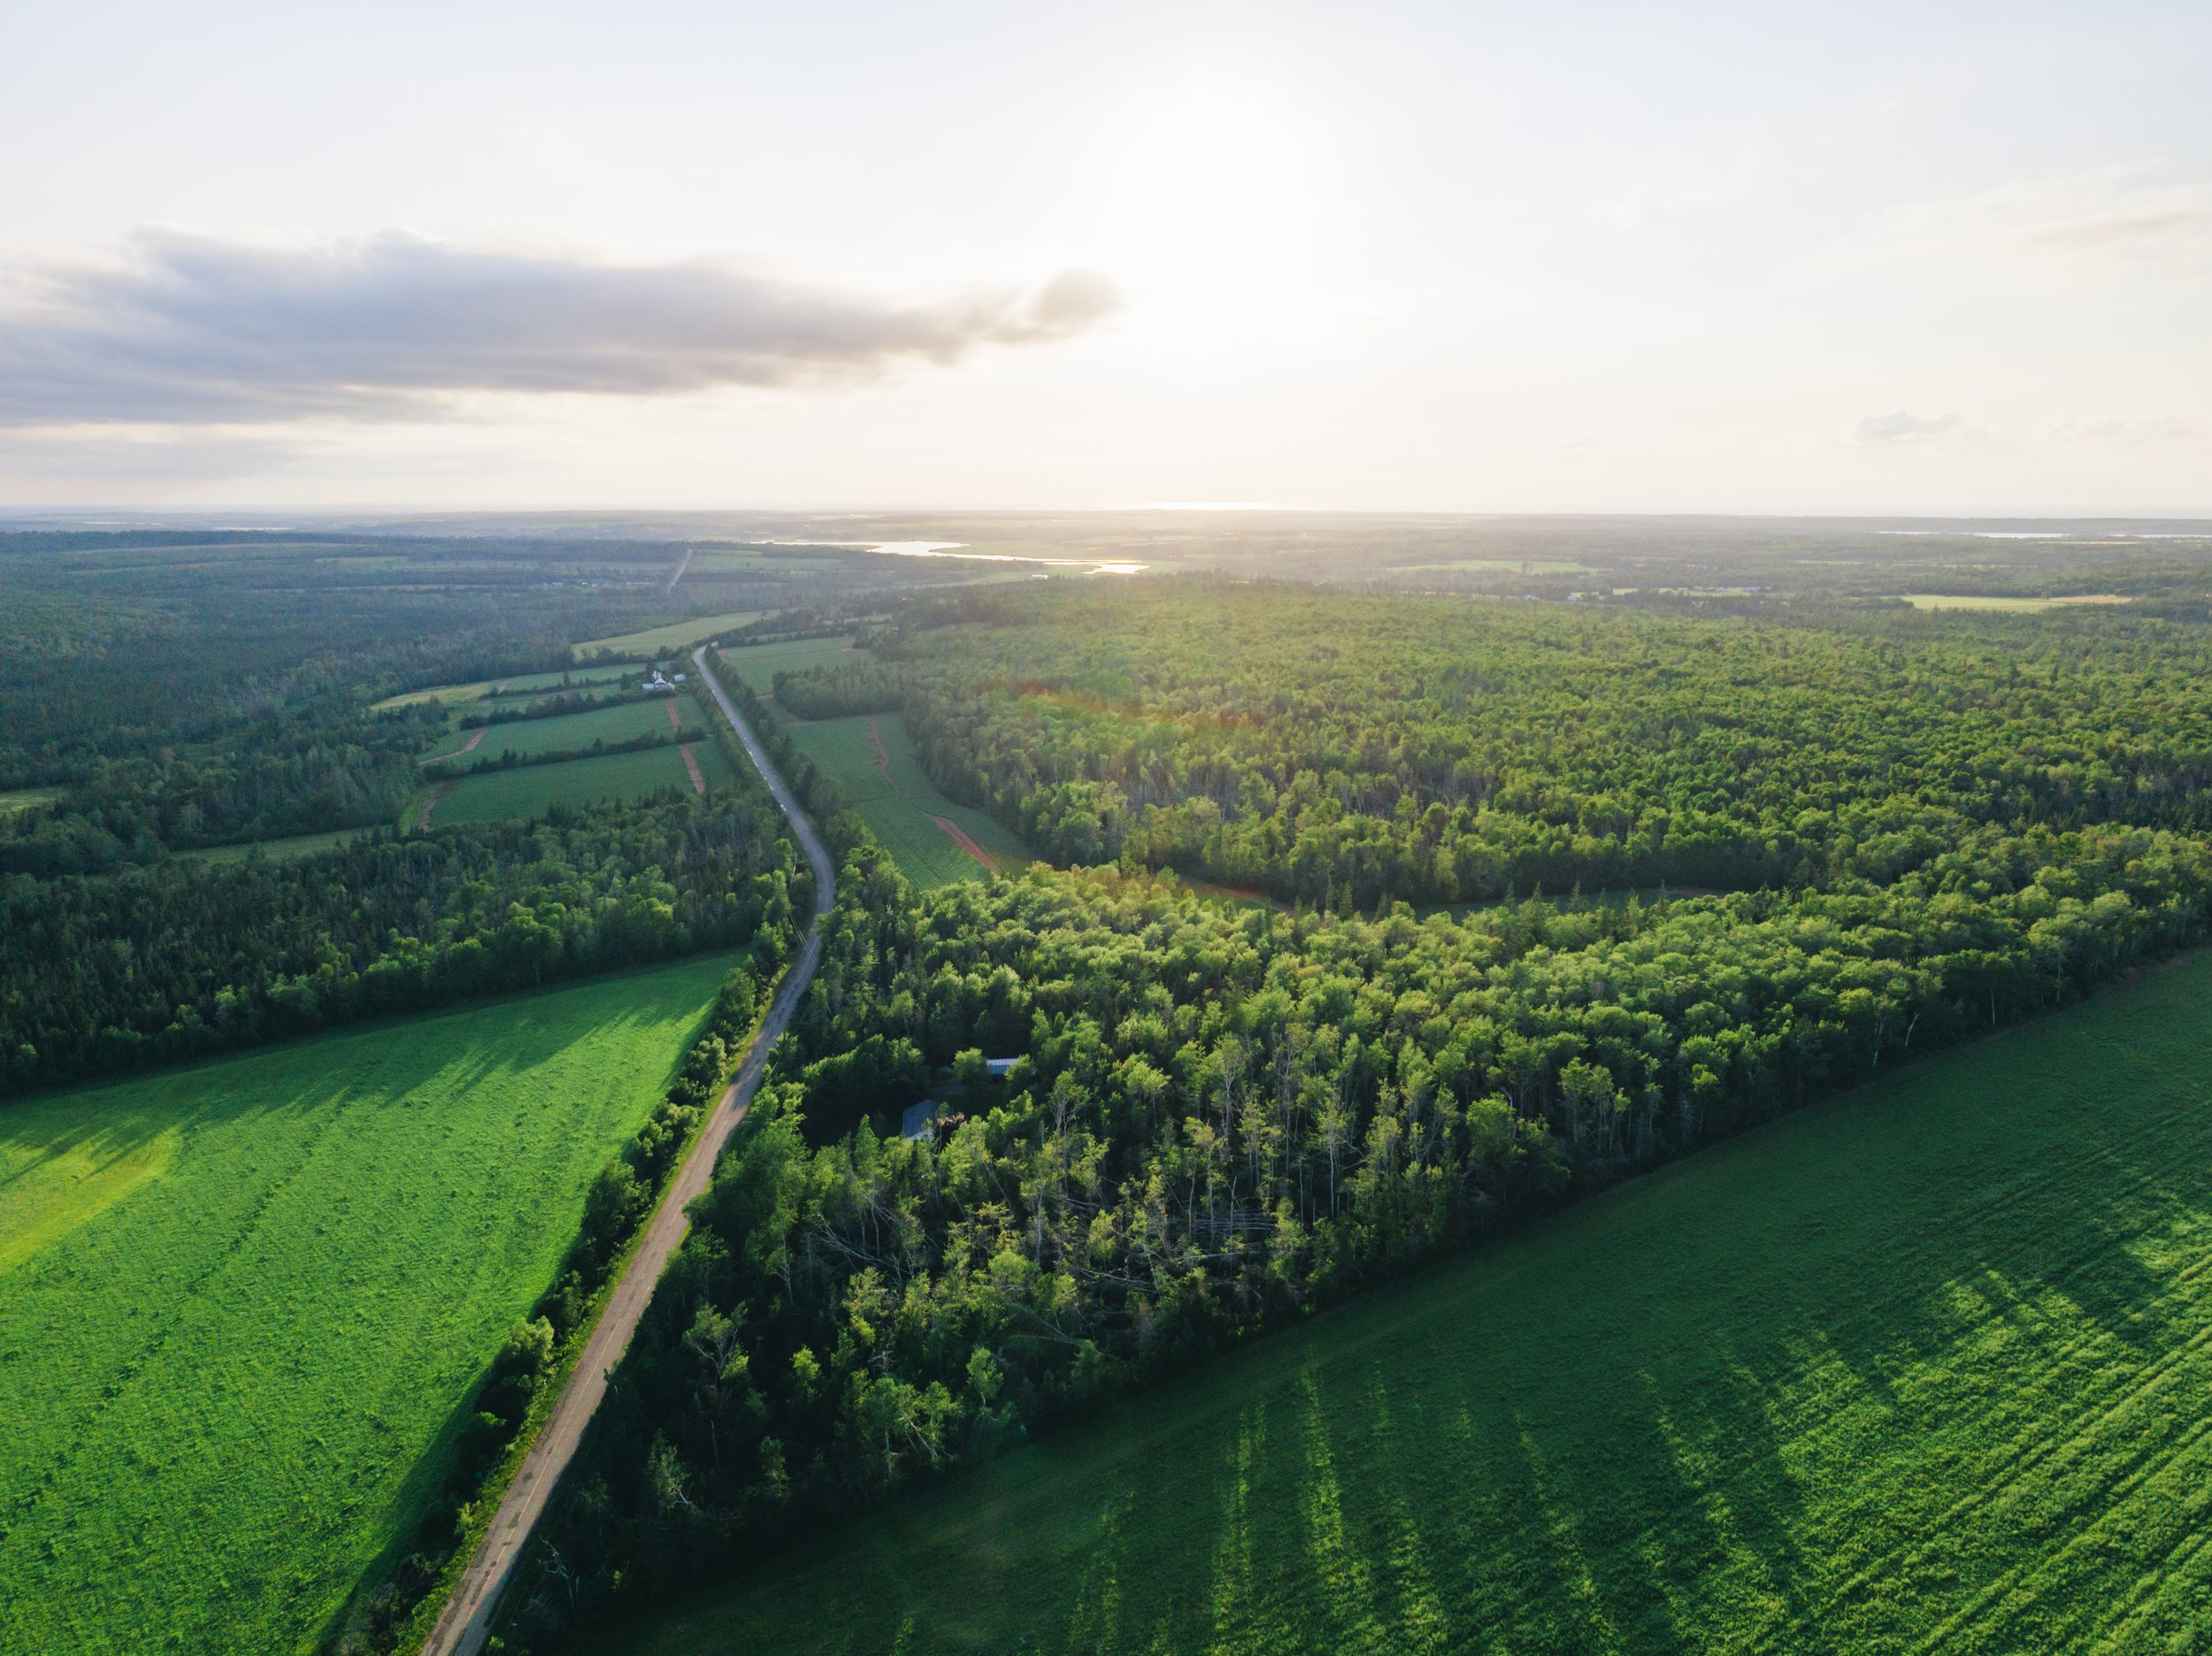
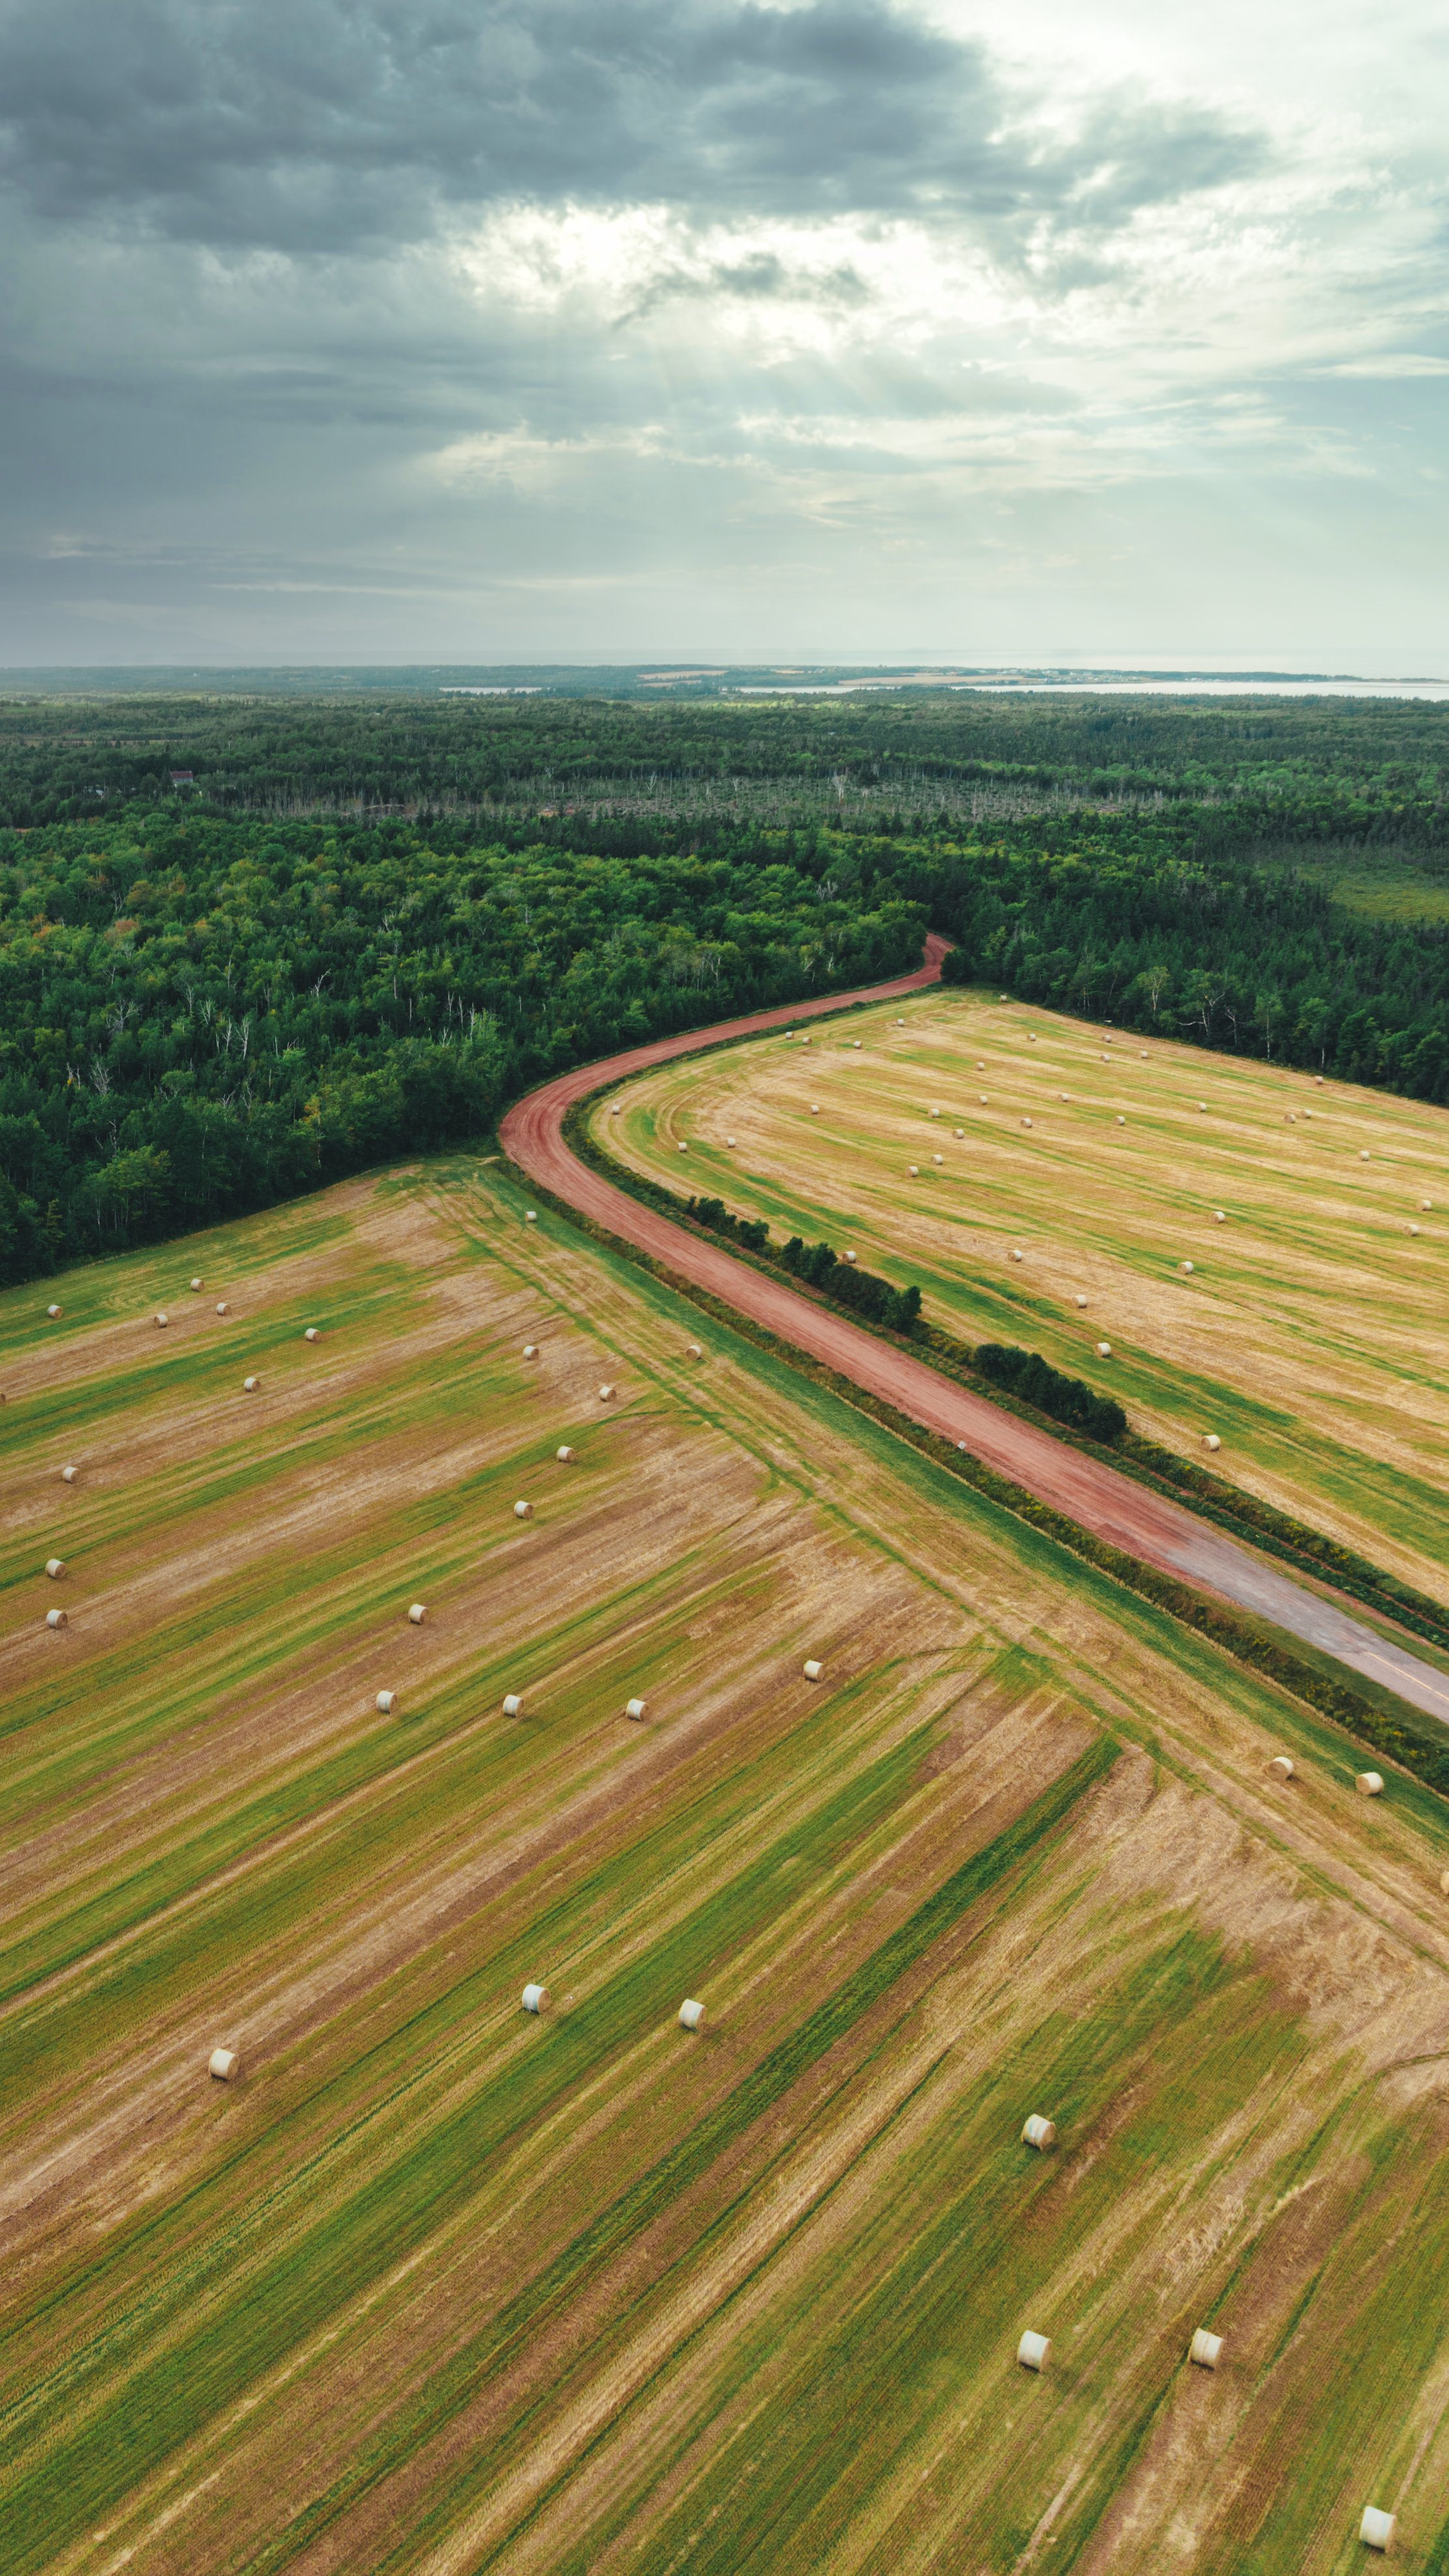
The road behind us.
When we sold our house in Charlottetown in early 2021, we moved out to the cottage thinking we’d be there for 4-6 months while we found somewhere else to live. During that time, we fell even more in love with the area - so we bought it from my brother. At first, we considered renovating the former taco shack on posts but like a lot of renovations, this would have taken us down a path of destruction down to the studs and a difficult place to put a foundation, literally and figuratively. After chatting with some trades friends, we decided to go for it. Some huge pros for us were the fact that the property already had a well, already had septic and already had electrical - not to mention it was already cleared and mostly landscaped how we wanted it. Huge head start.
That decision was made in January of 2022. It is now October of 2023. Things have progressed very well but really only in the last 3 months. We’ll get into the contractor/permitting/construction mortgage side of things a little later on!
As always, thanks for reading and I promise the next one won’t be so far in the future. To make up for that, here’s a bunch of shots from the property - lots of great flowers, a bit of an apple orchard, and a little sneak peek of what we’ll be talking about next.
Cheers,
Al


